
17 Essential Travel Photography Tips for 2026: Capture Your Adventures Like a Pro

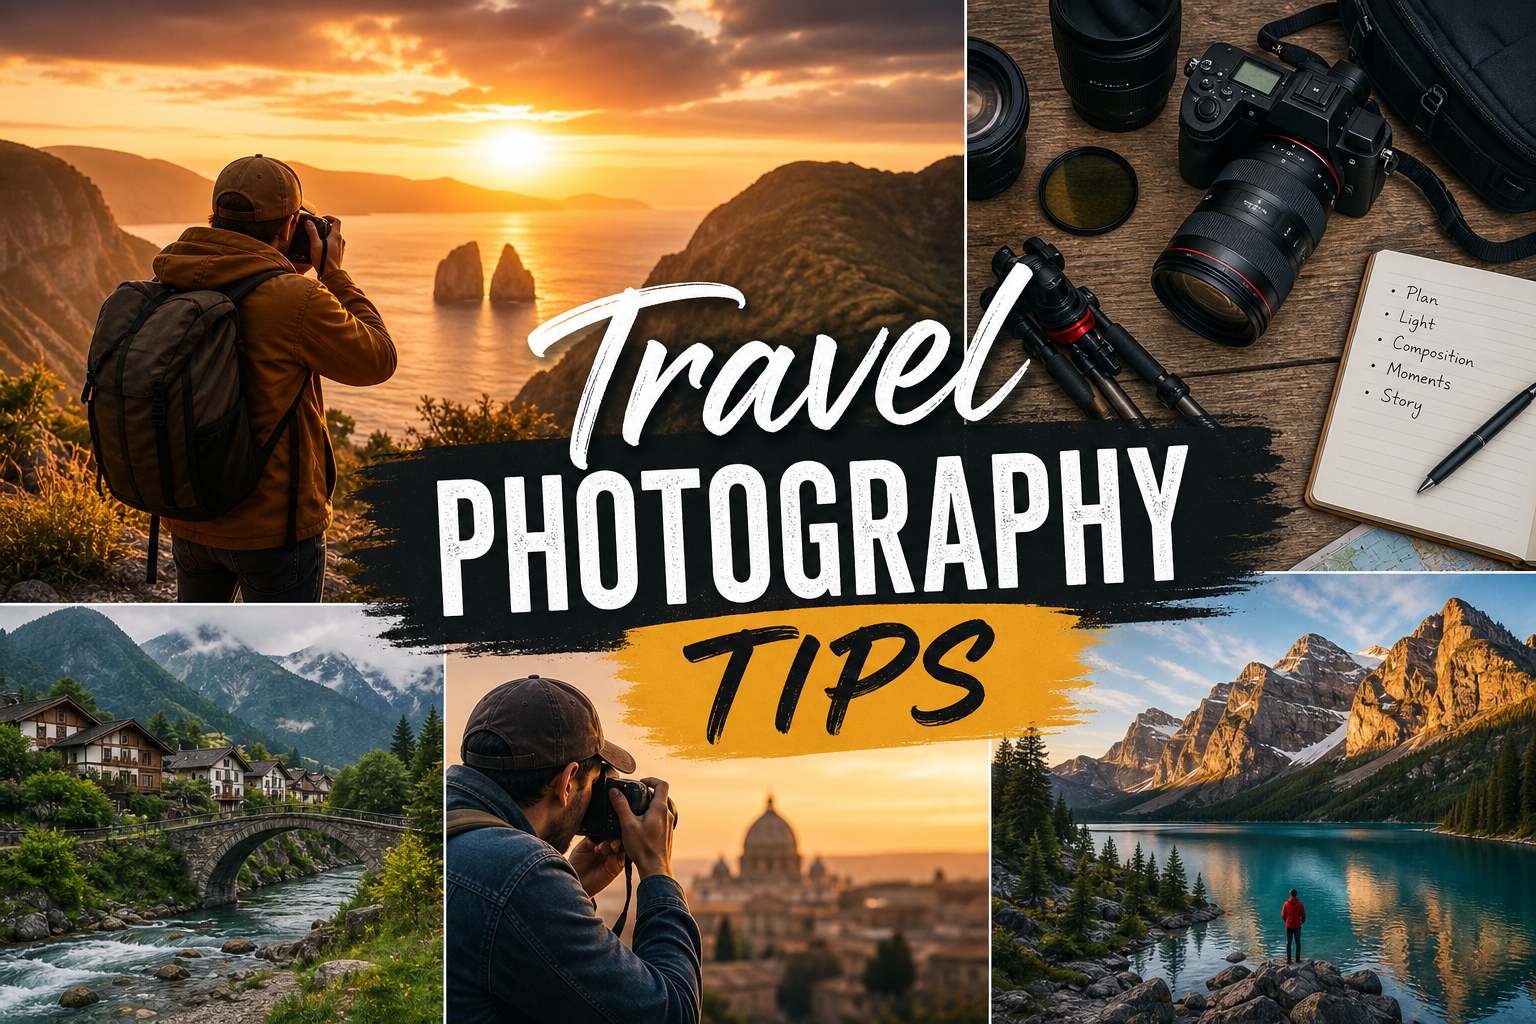
You’re probably tired of coming home from trips with blurry shots, overexposed sunsets, or photos that just don’t capture the magic you felt. That’s exactly why I’ve put together this collection of travel photography tips for 2026—practical, field-tested advice that’ll transform your travel photos from forgettable to frame-worthy. Whether you’re using a smartphone or a mirrorless camera, these tips will help you tell better stories with every click.
Essential Travel Photography Tips to Master in 2026
1. Embrace the Golden Hours (But Don’t Ignore Blue Hour)
Best for: Landscape and portrait photographers who want soft, flattering light
Address: Any outdoor location, ideally 30–60 minutes after sunrise or before sunset
Hours: Sunrise golden hour (varies by season, typically 5:30–7:30 AM) and sunset golden hour (typically 5:00–7:00 PM)
Price: Free, but requires early mornings or late evenings
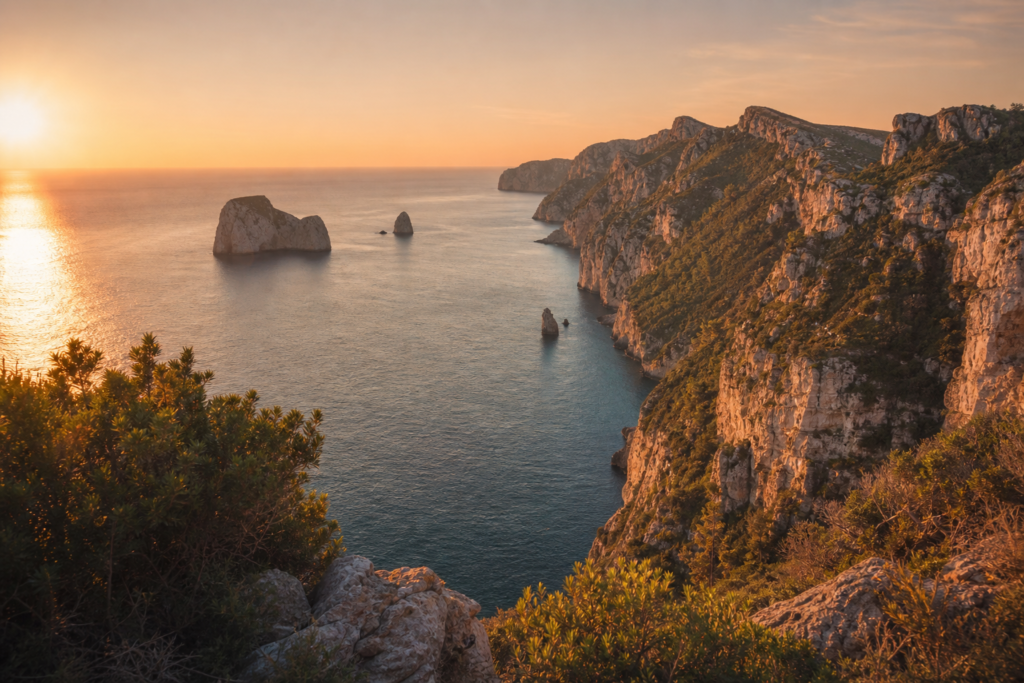
The golden hour—that warm, diffused light just after sunrise and before sunset—is every photographer’s best friend. Shadows become long and soft, colors turn rich and saturated, and skin tones look naturally flattering. But here’s the secret most travelers miss: blue hour (the 20–30 minutes before sunrise and after sunset) is equally magical. The sky turns deep cobalt, streetlights begin to glow, and you can capture stunning cityscapes with long exposures. In 2026, apps like PhotoPills and Sun Surveyor make it easy to predict exactly when these windows occur for any location. Set an alarm, pack a thermos of coffee, and commit to shooting during these times—your portfolio will thank you.
2. Master the Rule of Thirds (Then Break It)
Best for: Beginners wanting instant composition improvement
Address: Any scene, from crowded markets to empty beaches
Hours: Always applicable
Price: Free technique
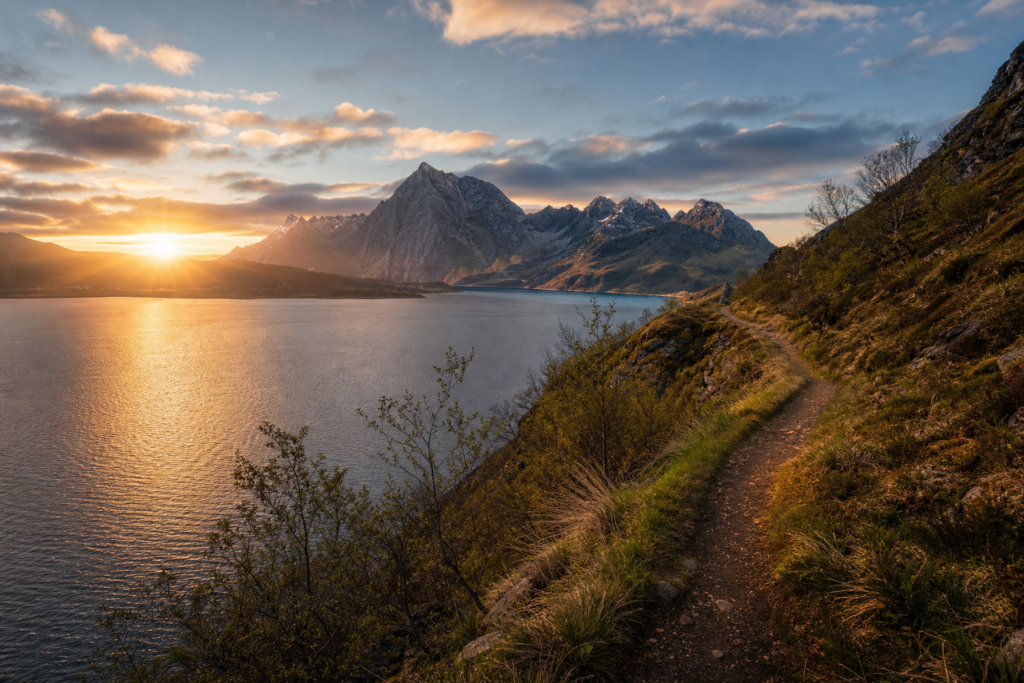
The rule of thirds is the single most impactful composition trick you can learn. Imagine dividing your frame into nine equal sections with two horizontal and two vertical lines. Place your subject along these lines or at their intersections—this creates more dynamic, balanced images than centering everything. Most cameras and smartphones have a grid overlay you can activate in settings. But here’s where it gets fun: once you’ve mastered the rule, break it intentionally. Center a symmetrical subject like a reflection in a temple pond, or place your subject at the very edge for dramatic negative space. The key is knowing why you’re breaking the rule, not just doing it randomly.
3. Shoot in RAW (Even on Your Smartphone)
Best for: Photographers who want maximum editing flexibility
Address: Camera settings menu (check your phone’s Pro or RAW mode)
Hours: Use whenever lighting is tricky (high contrast, low light, mixed color temperatures)
Price: Free, but requires more storage space
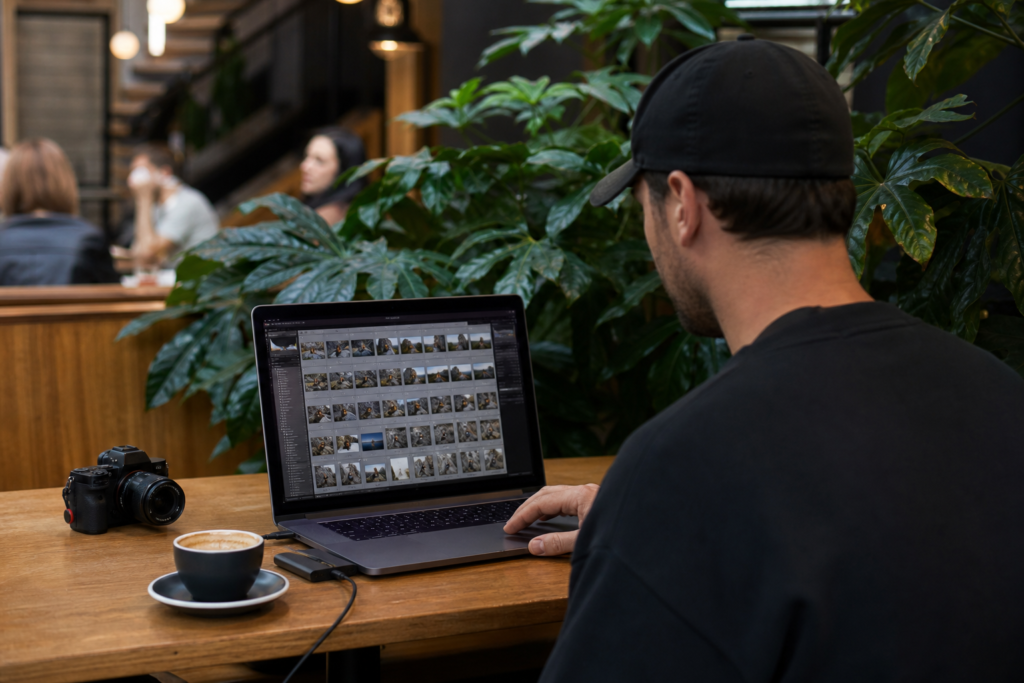
RAW files capture all the data your camera’s sensor sees, giving you incredible latitude to adjust exposure, white balance, and shadows in post-processing. JPEGs, on the other hand, compress that data and bake in settings like sharpness and color—leaving you with less room to fix mistakes. In 2026, most flagship smartphones (iPhone 16 Pro, Samsung Galaxy S25 Ultra, Google Pixel 10) offer RAW capture natively. Yes, RAW files take up more space—a single image can be 25–50 MB—but the trade-off is worth it when you need to recover details from a blown-out sky or brighten shadowy faces. Carry a portable SSD or use cloud backup (Google Photos, iCloud) to manage storage.
4. Use a Polarizing Filter for Jaw-Dropping Landscapes
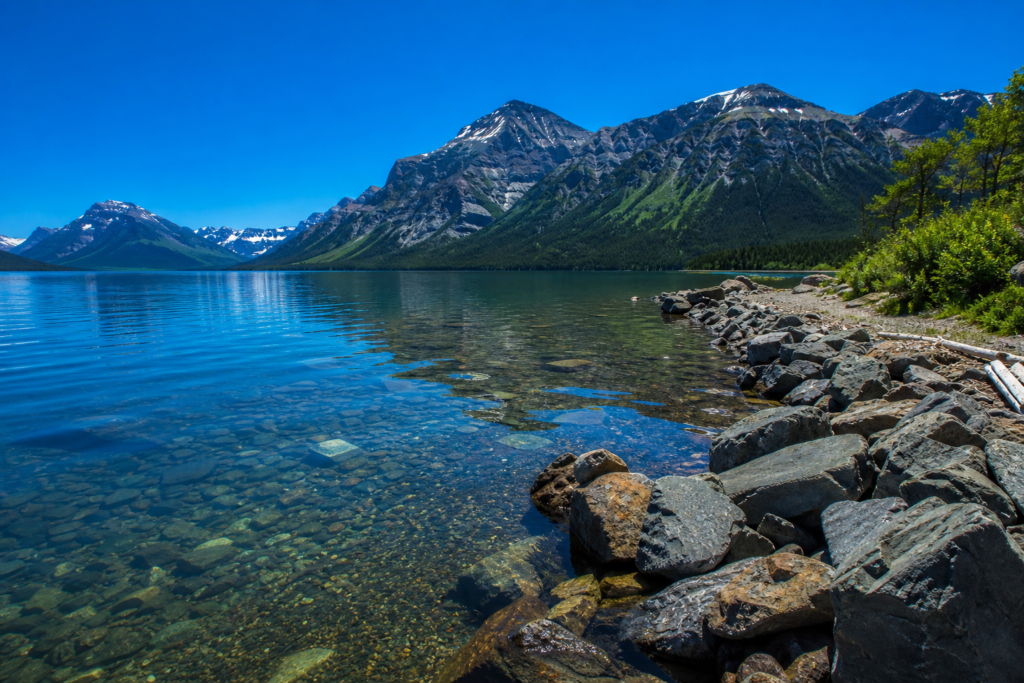
Best for: Landscape and nature photographers shooting outdoors
Address: Screws onto your camera lens (or use a clip-on for smartphones)
Hours: Best in midday sun when glare is strongest
Price: $30–$150 depending on brand and size
A circular polarizing filter is the single most underrated accessory in travel photography. It reduces reflections from water, glass, and foliage, making colors pop—skies become deeper blue, clouds gain definition, and leaves look more vibrant. It also cuts through haze, which is invaluable when shooting distant mountains or city skylines. For smartphone users, clip-on polarizers from brands like Moment or PolarPro work beautifully. Just remember: you can’t fix polarization in editing software, so spin the filter while looking through your viewfinder until you see the effect you want. Avoid over-polarizing (which can make skies look unnatural) and remove the filter in very low light, as it reduces light entering the lens by about one to two stops.
5. Pack Light, Shoot Smart: The Minimalist Kit
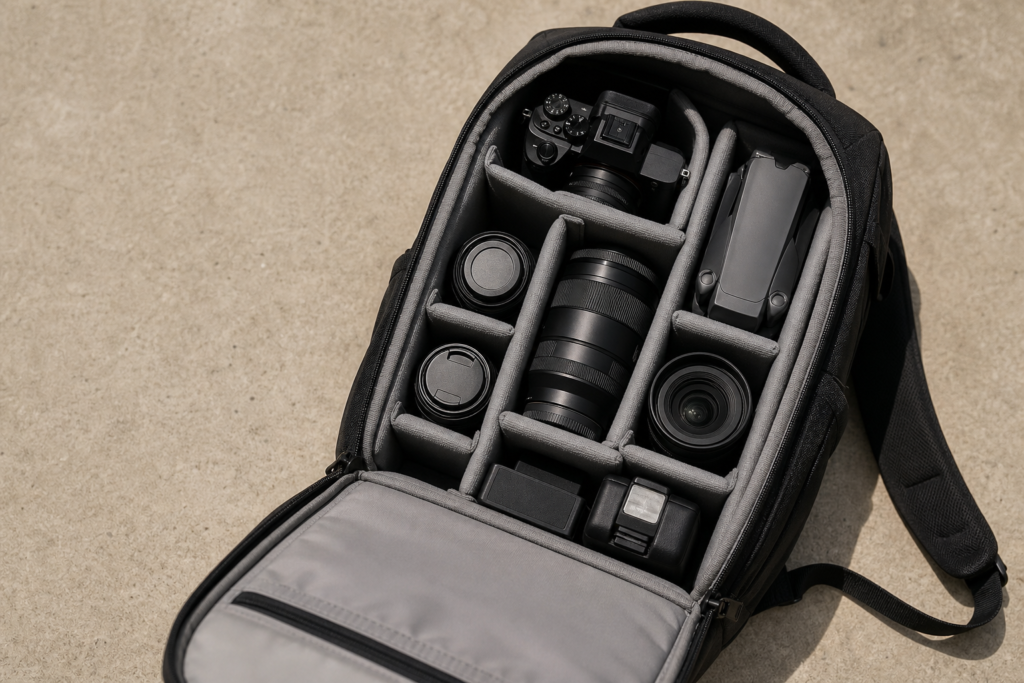
Best for: Backpackers, city trippers, and anyone tired of carrying heavy gear
Address: Your camera bag (aim for under 5 lbs/2.3 kg total)
Hours: Pack once, use for entire trip
Price: Varies; a minimalist kit can cost $500–$2,000
The best camera is the one you actually have with you. Overpacking gear leads to sore shoulders and missed moments because you’re too tired to pull out your camera. For 2026, my go-to minimalist kit includes: one mirrorless body (like the Sony A7C II or Fujifilm X-T5), one versatile zoom lens (24–70mm f/2.8 or 16–55mm f/2.8), a small tripod (Peak Design Travel Tripod), extra batteries, and a polarizing filter. If you’re using a smartphone, skip the DSLR entirely—the iPhone 16 Pro’s 48MP sensor and 5x telephoto lens can handle 90% of travel scenarios. For the remaining 10% (wildlife, astrophotography), consider renting gear locally rather than hauling it across continents.
6. Tell a Story with Your Photos (Not Just a Selfie)
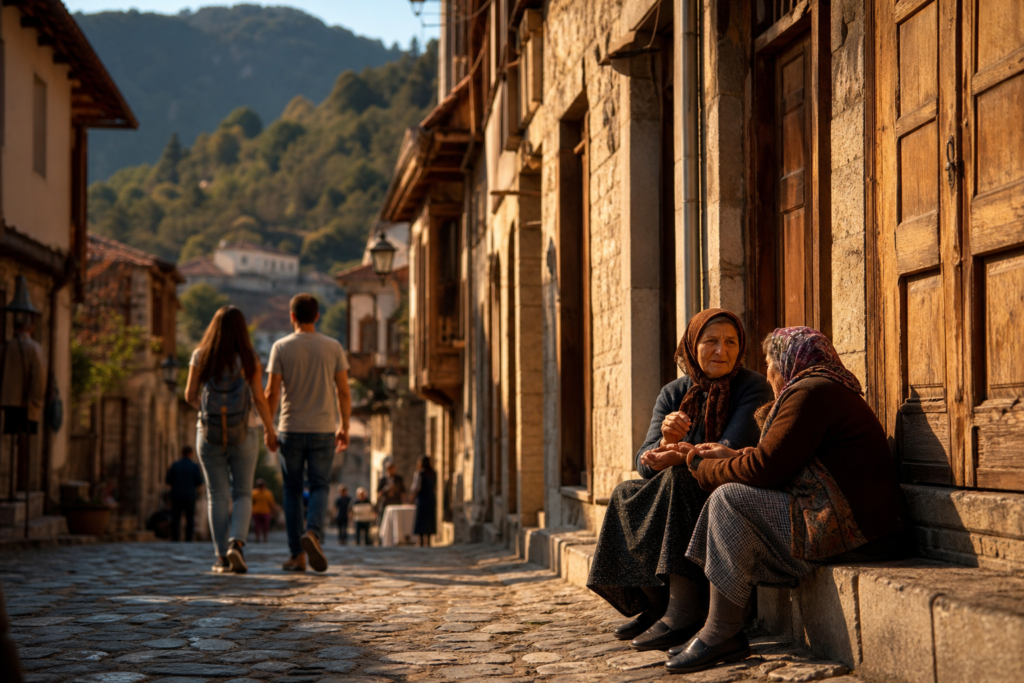
Best for: Travelers who want to capture the essence of a place
Address: Everywhere you go—streets, markets, homes, landscapes
Hours: Throughout the day
Price: Free (just requires intentionality)
A great travel photo does more than document what you saw—it conveys how it felt. Instead of snapping random shots, think in sequences: a wide shot of the location, a medium shot of the main subject, and a close-up of a detail (texture, color, expression). For example, at a Moroccan spice market: wide shot of the stall-lined alley, medium shot of the vendor arranging saffron, close-up of your hand touching the cinnamon bark. This creates a visual story that transports viewers. Also, include people (with permission) to add scale and emotion. A lone figure walking through a misty rice terrace tells a more compelling story than the terrace alone.
7. Master Long Exposures Without a Tripod (Yes, It’s Possible)
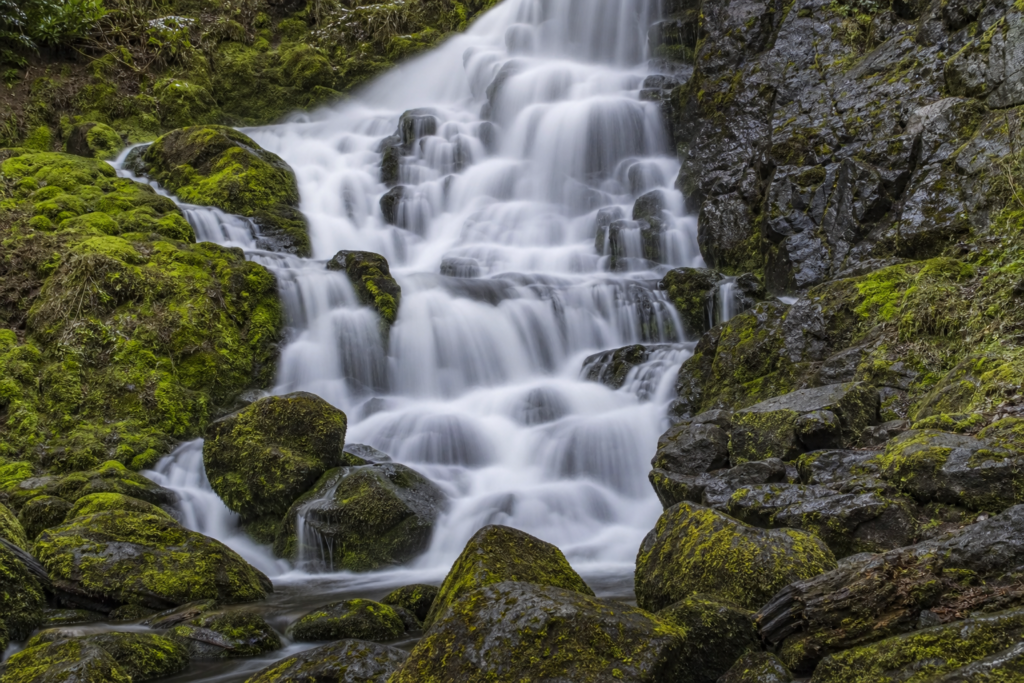
Best for: Night photography, waterfalls, and light trails
Address: Any low-light scene (cityscapes, waterfalls, starry skies)
Hours: Blue hour, night, or very overcast days
Price: Free (use a stable surface or a mini tripod)
Long exposures create dreamy effects—silky waterfalls, streaking car lights, smooth clouds—but they usually require a tripod. In 2026, image stabilization technology has advanced so much that you can handhold shots at shutter speeds as slow as 1/4 second on many cameras. For even longer exposures, get creative: brace your camera against a wall, fence, or garbage can; use a beanbag (or a rolled-up jacket) on a railing; or invest in a tiny tabletop tripod like the Manfrotto Pixi. Smartphone users can use Night Mode (iPhone) or Astrophotography mode (Pixel) for multi-second exposures without blur. The key is to use a 2-second self-timer or remote shutter to avoid camera shake from your finger pressing the button.
8. Shoot in Burst Mode for Action and Candid Moments
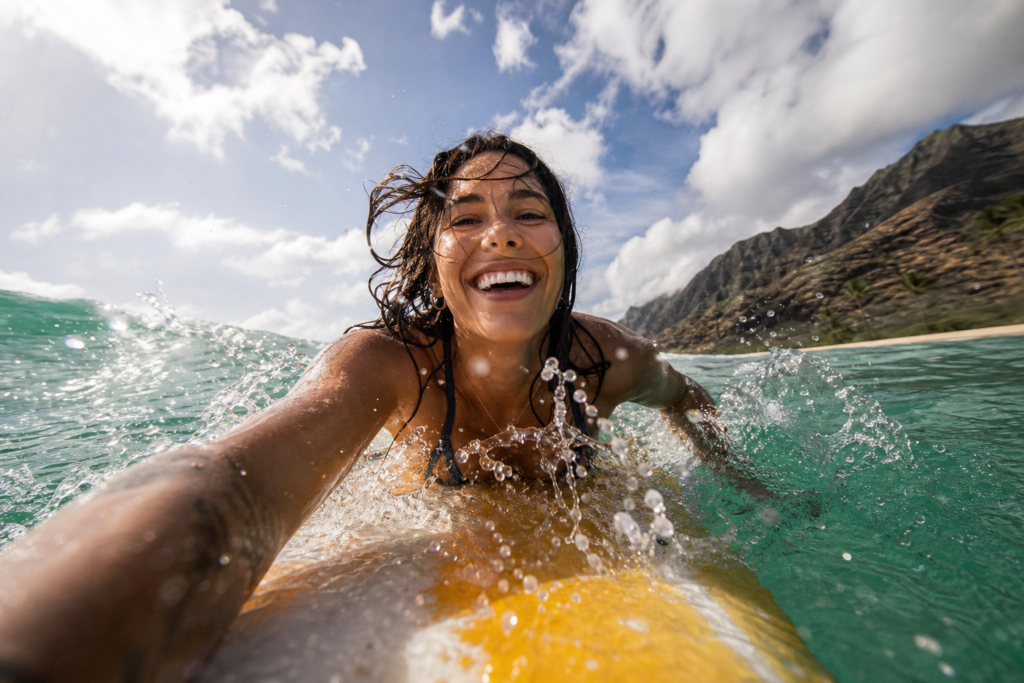
Best for: Street photography, wildlife, and fast-moving subjects
Address: Any scene with movement (markets, festivals, animals)
Hours: Unpredictable—always be ready
Price: Free (uses more storage, but worth it)
Burst mode captures a rapid sequence of images (10–30 frames per second) while you hold the shutter button. This is a game-changer for capturing fleeting expressions, jumping poses, or a bird taking flight. Instead of hoping you nailed the perfect moment, you can later select the sharpest, most expressive frame from the burst. Most cameras and smartphones have this feature—check your settings to enable it. For wildlife, use continuous autofocus (AF-C on cameras, or “Tracking” mode on phones) so the subject stays sharp as it moves. Just be prepared to delete a lot of duds later; burst mode generates hundreds of images quickly.
9. Use Leading Lines to Draw the Viewer In
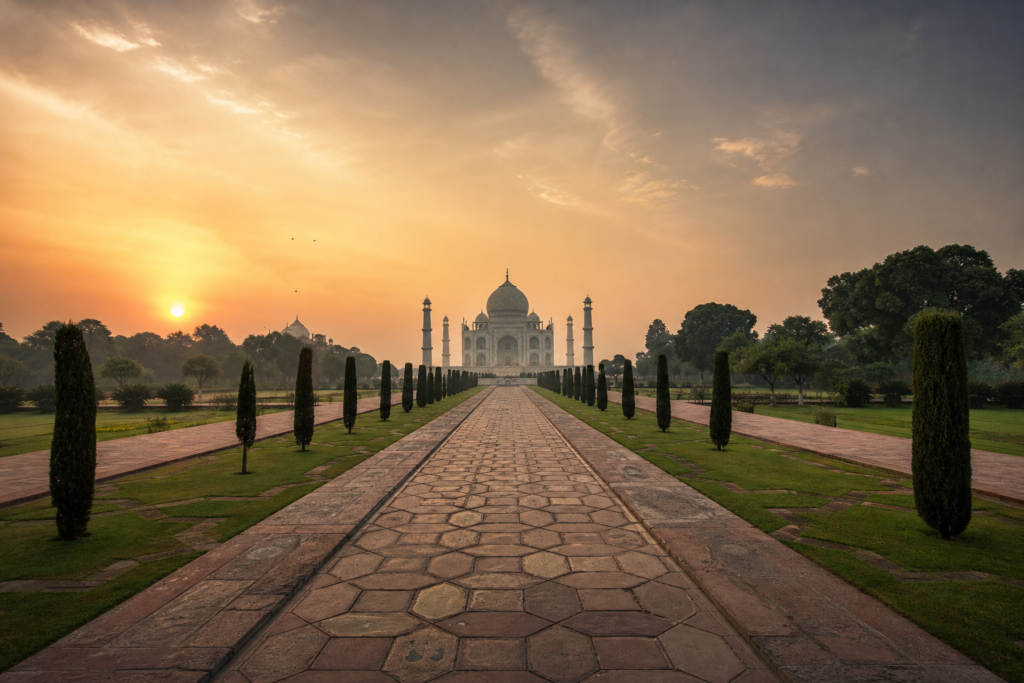
Best for: Architectural and landscape composition
Address: Streets, bridges, tunnels, beaches, forests
Hours: Any time of day
Price: Free technique
Leading lines are visual pathways that guide the viewer’s eye through the image toward the main subject. Roads, rivers, fences, staircases, shadows, and even rows of trees all work beautifully. Position yourself so the line starts at the bottom corner of your frame and leads inward. For example, shoot a winding cobblestone street in Prague that draws the eye toward a distant cathedral spire, or a wooden pier that points toward a sunset horizon. Wide-angle lenses (16–24mm) exaggerate leading lines, making them more dramatic. In 2026, AI composition tools in editing apps like Adobe Lightroom can even suggest leading lines in your existing photos—but nothing beats finding them in the field.
10. Embrace Imperfections: Motion Blur, Grain, and Flare
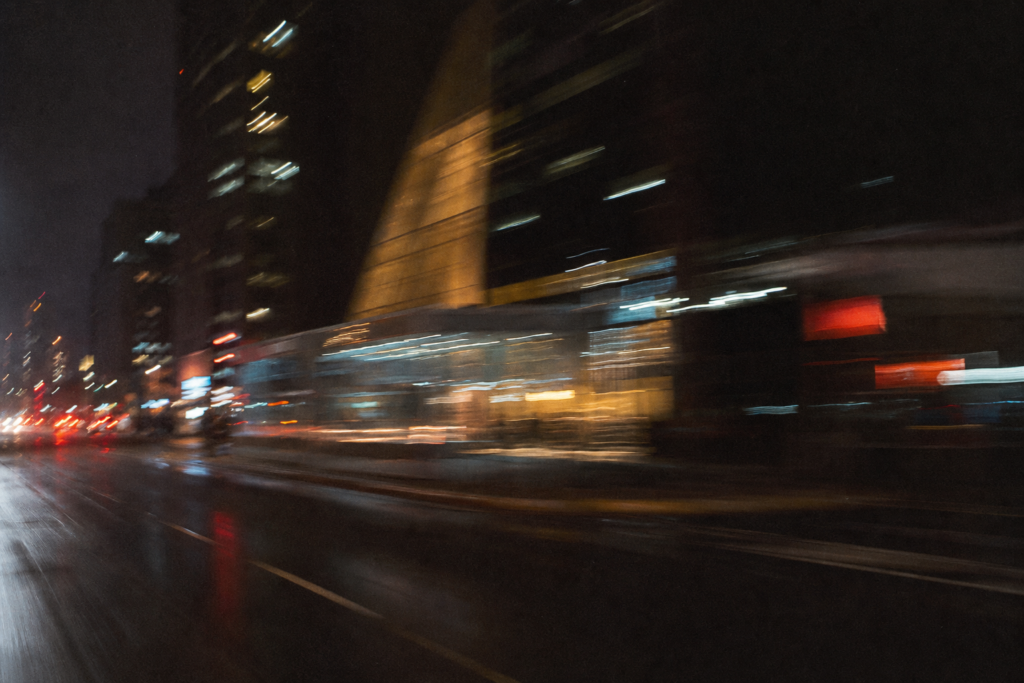
Best for: Creative, artistic travel photography
Address: Anywhere you want to convey mood or energy
Hours: Low light, backlit scenes, or fast-moving subjects
Price: Free (just experiment)
Not every photo needs to be pin-sharp and noise-free. Intentional motion blur—like a hand waving or a taxi speeding by—can convey energy and movement. Film grain (or digital noise) adds texture and nostalgia, especially in black-and-white shots. Lens flare from shooting into the sun creates a dreamy, cinematic feel. The trick is to use these “flaws” purposefully, not accidentally. For motion blur, slow your shutter speed to 1/15–1/30 second and pan with the subject. For grain, push your ISO to 3200 or higher and embrace the grit. For flare, shoot directly into a low sun with a wide aperture (f/2.8 or wider). These techniques make your photos feel more human and less sterile.
11. Research Local Photography Laws and Etiquette
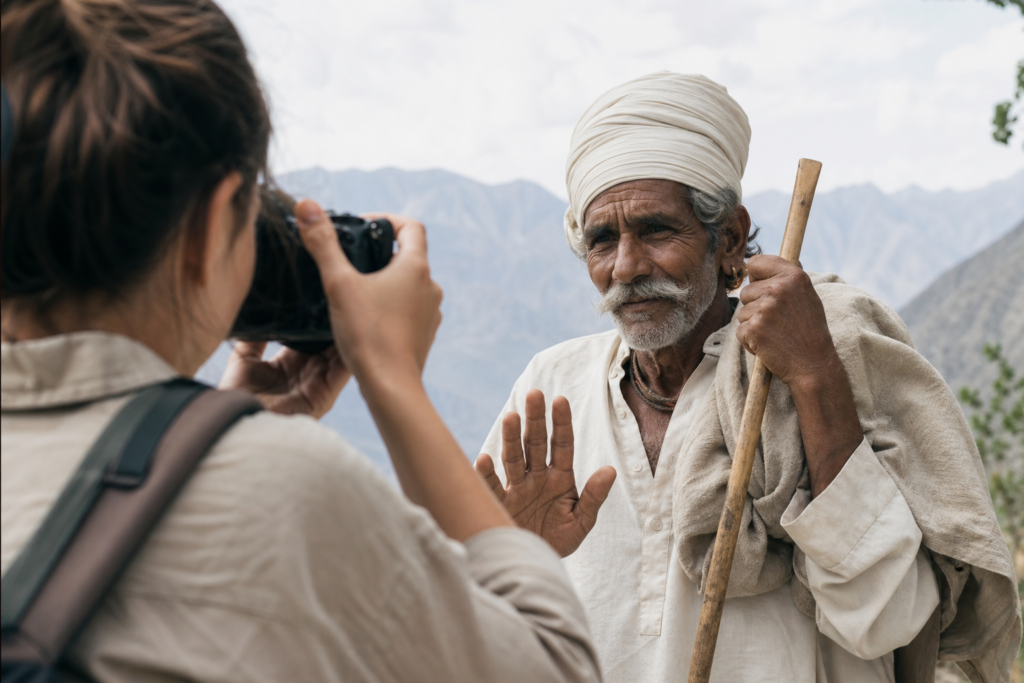
Best for: Responsible travelers who respect local cultures
Address: Every country, city, and sacred site you visit
Hours: Before you travel (research online)
Price: Free (but crucial to avoid fines or conflict)
This is one of the least glamorous but most important travel photography tips. Many places restrict photography: no flash in museums, no photos inside temples, no drone use without permits, no photographing people without consent. In 2026, countries like Italy, France, and Japan have strict drone regulations, and some indigenous communities in Peru or Nepal require payment for portrait photography. Always ask before photographing strangers—a smile and a gesture go a long way. Learn a few phrases in the local language (“May I take your photo?”). Respect signs and local customs, even if they seem inconvenient. Not only does this keep you safe, but it also builds trust and often leads to more authentic, willing subjects.
12. Edit with a Light Hand: Less Is More
Best for: All photographers who want natural-looking results
Address: Your editing software (Lightroom, Snapseed, VSCO)
Hours: After your shoot, when you have time to be patient
Price: Free apps available; premium ones cost $10–$20/month
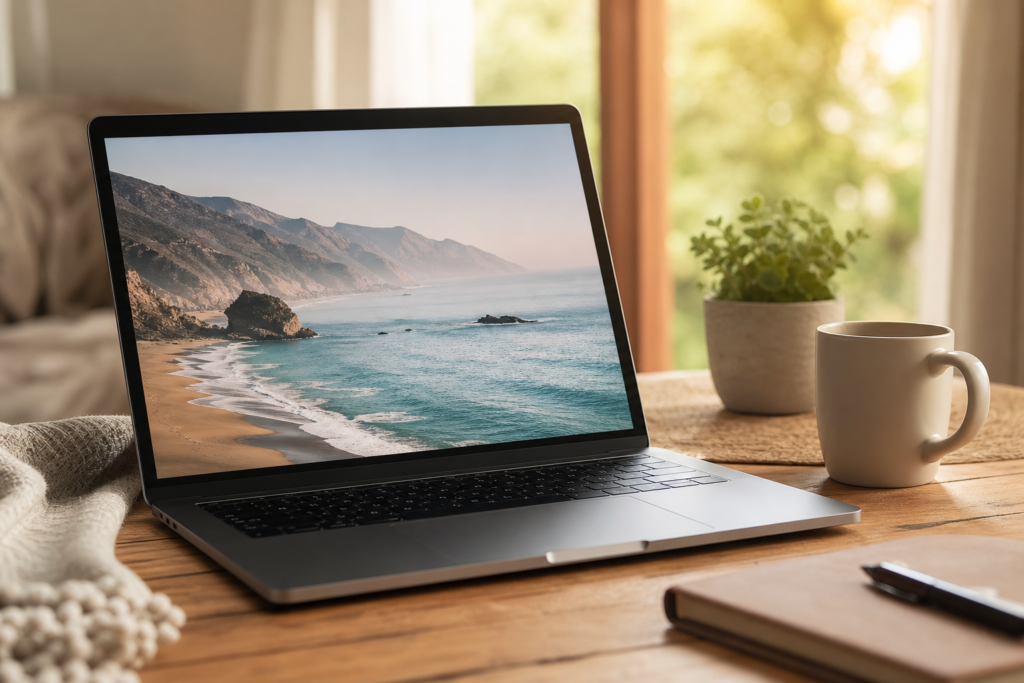
Editing is where good photos become great, but over-editing ruins them. The biggest mistake travelers make is cranking up saturation, clarity, and sharpness until the image looks artificial. Instead, aim for subtle adjustments: correct white balance (remove color casts), boost contrast slightly (but preserve shadow detail), and apply gentle sharpening. Use the histogram to ensure you’re not clipping highlights or shadows. For smartphone users, apps like Snapseed and Lightroom Mobile offer powerful tools without overwhelming you. Create a preset (a saved set of adjustments) that works for your trip’s lighting conditions—this speeds up editing when you have hundreds of photos. And always compare your edit to the original to ensure you’re enhancing, not destroying, the natural beauty.
13. Shoot Vertical for Social Media (But Horizontal for Prints)
Best for: Content creators and anyone sharing online
Address: Any scene you plan to post on Instagram, TikTok, or Pinterest
Hours: Always consider your final platform
Price: Free (just rotate your camera)
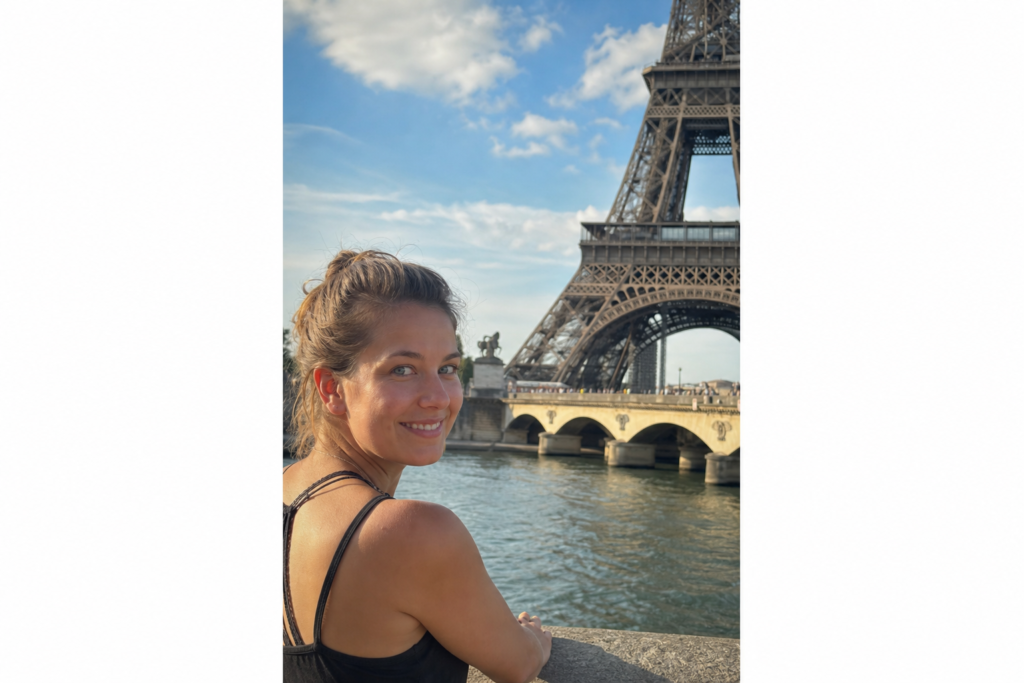
In 2026, vertical (portrait orientation) content dominates social media because it fills phone screens without awkward cropping. If you know you’ll share photos on Instagram or TikTok, shoot vertical—or at least frame your shot so it can be cropped to 4:5 or 9:16 aspect ratios. For prints, photo books, or desktop wallpapers, horizontal (landscape) orientation is better because it mimics how we naturally see the world. My advice: shoot both orientations for key scenes. Take a horizontal shot for your portfolio and a vertical version for your feed. It takes two extra seconds and saves you from awkward cropping later.
14. Use Your Phone’s Pro Mode for Manual Control
Best for: Smartphone photographers wanting DSLR-like control
Address: Camera app settings (look for “Pro,” “Manual,” or “Expert RAW”)
Hours: Any time you need precise exposure
Price: Free (built into most flagship phones)
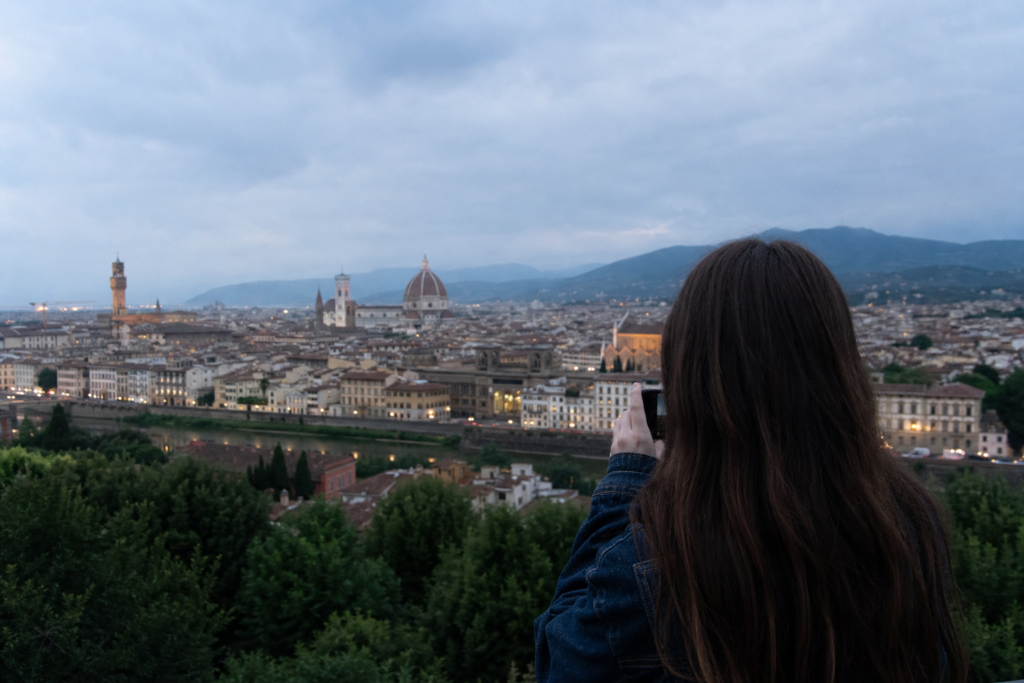
Your smartphone is a powerful camera, but its auto mode often gets things wrong—especially in tricky lighting. Pro mode gives you manual control over ISO, shutter speed, white balance, and focus. Use it to freeze motion (fast shutter, 1/500 second), create silky waterfalls (slow shutter, 1/4 second), or lock focus on a specific subject. White balance is particularly useful: set it to “Daylight” for sunny scenes to avoid a blue cast, or “Cloudy” for warm, golden tones. In 2026, phones like the Xiaomi 14 Ultra and Vivo X100 Pro offer professional-grade manual controls that rival entry-level cameras. Spend an afternoon practicing before your trip—you’ll be amazed at the difference.
15. Back Up Your Photos Daily (Don’t Risk Losing Them)
Best for: Every traveler who values their memories
Address: Cloud storage (Google Photos, iCloud, Dropbox) and physical backup (portable SSD)
Hours: Every evening after shooting
Price: Cloud storage: $2–$10/month; portable SSD: $50–$150
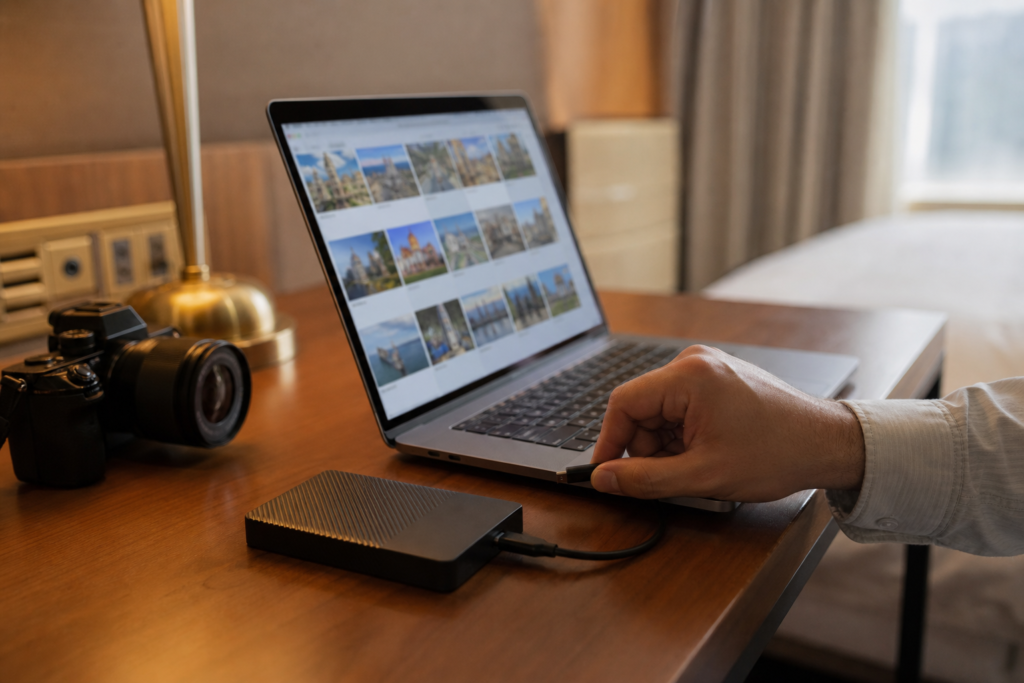
Losing travel photos is heartbreaking—and entirely preventable. In 2026, automatic cloud backup is seamless: Google Photos offers unlimited compressed storage, and iCloud syncs instantly over Wi-Fi. But cloud backup requires internet, which isn’t always available in remote areas. That’s why I always carry a portable SSD (like the Samsung T7 Shield, which is waterproof and shockproof) and back up my SD cards each evening using a USB-C card reader. For smartphone users, use a Lightning/USB-C to SD card adapter or a wireless backup drive like the WD My Passport Wireless Pro. Set a nightly routine: transfer files, charge batteries, format memory cards. This discipline ensures you never return home with a corrupted card and empty hands.
16. Practice Street Photography with Respect and Confidence
Best for: Travelers who want authentic, candid portraits
Address: Markets, public squares, streets, festivals
Hours: Early morning or late afternoon for best light and fewer crowds
Price: Free (but be prepared to buy something from vendors you photograph)
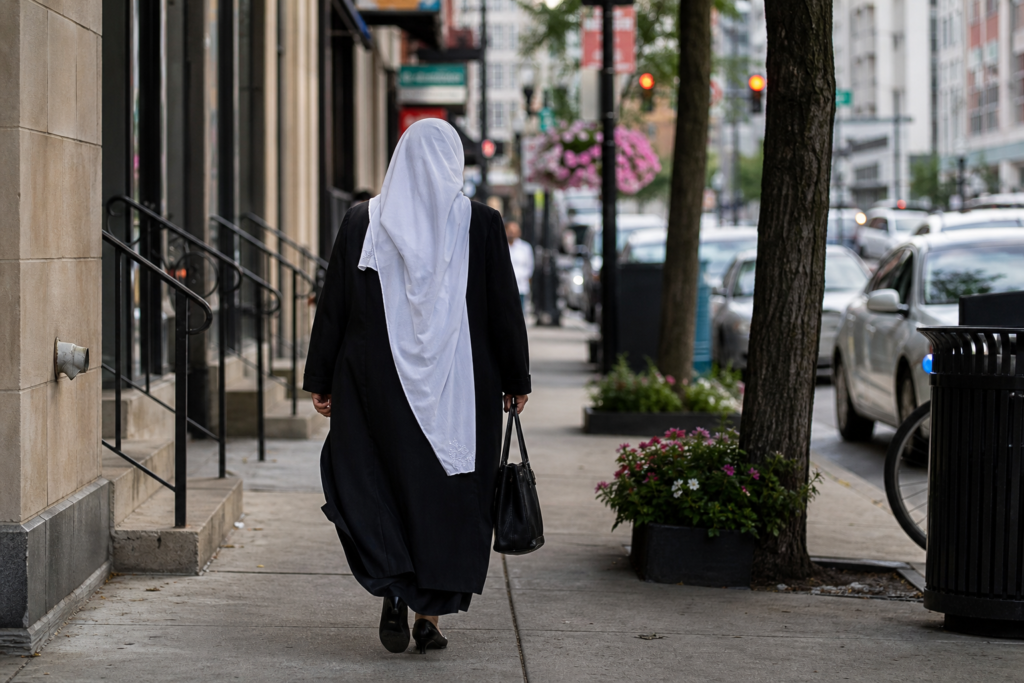
Street photography is the heart of travel photography, but it requires sensitivity. The golden rule: never photograph someone in a vulnerable position (homeless, distressed, or unaware) without permission. Instead, approach with a smile, show them your camera, and ask. Most people will say yes, especially if you’re friendly. If they decline, respect it and move on. For candid shots, use a longer lens (50mm or 85mm equivalent) to keep distance without intruding. Shoot from the hip (camera at waist level) for a more natural perspective. And always, always be prepared to delete a photo if someone asks—it’s their image, not yours.
17. Plan for the Unexpected: Weather, Crowds, and Mishaps
Best for: Prepared travelers who don’t let setbacks ruin their shots
Address: Any location, any time
Hours: Always have a backup plan
Price: Free (but insurance helps)
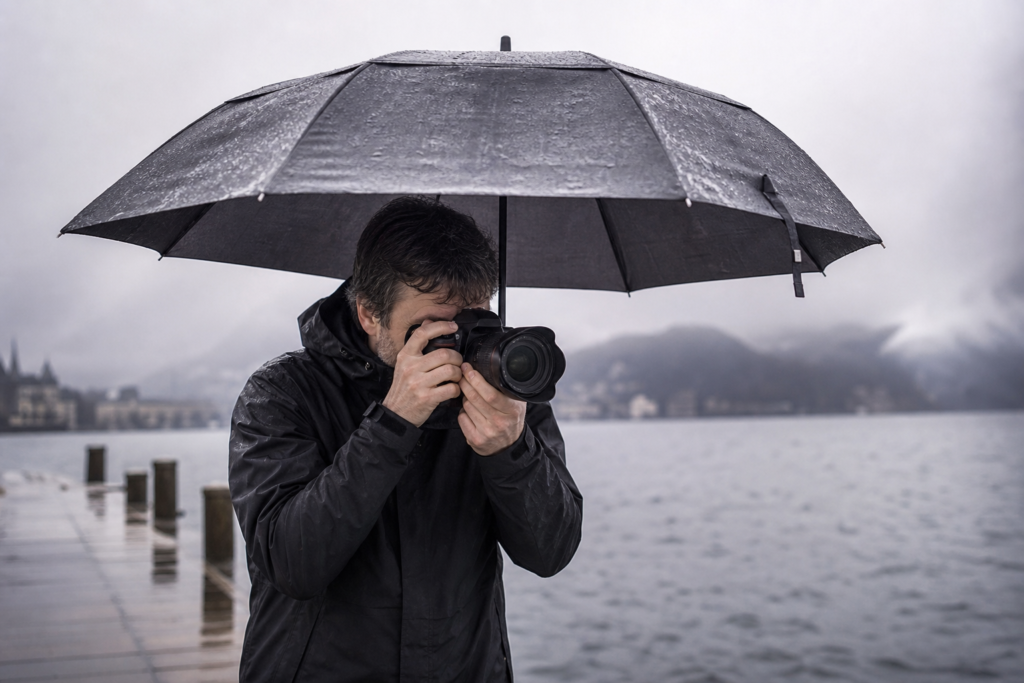
The best-laid photography plans often fail: rain ruins a sunset shoot, a festival is canceled, or a location is overrun with tourists. In 2026, flexibility is your superpower. Check weather apps (Dark Sky, Windy) hourly, and have indoor alternatives (museums, markets, cafes) for rainy days. Scout locations on Google Street View or Instagram ahead of time to find less-crowded angles. Carry a rain cover for your camera (a plastic bag with a rubber band works in a pinch). And most importantly, lower your expectations—the worst weather often creates the most dramatic photos. Misty mountains, rain-soaked streets, and stormy skies can be more evocative than perfect blue skies.
—
Conclusion
Travel photography in 2026 is more accessible than ever, but the fundamentals remain the same: great light, thoughtful composition, and genuine connection with your subject. These travel photography tips aren’t about buying the most expensive gear or mastering complex techniques—they’re about being present, patient, and intentional. Start with just two or three tips from this list, practice them on your next outing, and build from there. Remember, the best travel photos aren’t the ones with perfect exposure or razor-sharp focus; they’re the ones that make you feel something when you look back. So pack your camera (or just your phone), step out the door, and start capturing the world your way.
—
similar posts
The Ultimate Guide to the Top 10 Places to Visit in the World in 2026
15 Essential Business Travel Tips for 2026: Work Smarter on the Road
15 Must-See Places to Visit in the US in 2026
Best Time to Visit the Grand Canyon in 2026
The 15 Best Places to Visit in Spain in 2026
15 Best Places to Visit in Colorado in 2026